Showing posts with label image. Show all posts

Monday, April 9, 2018

Quilling

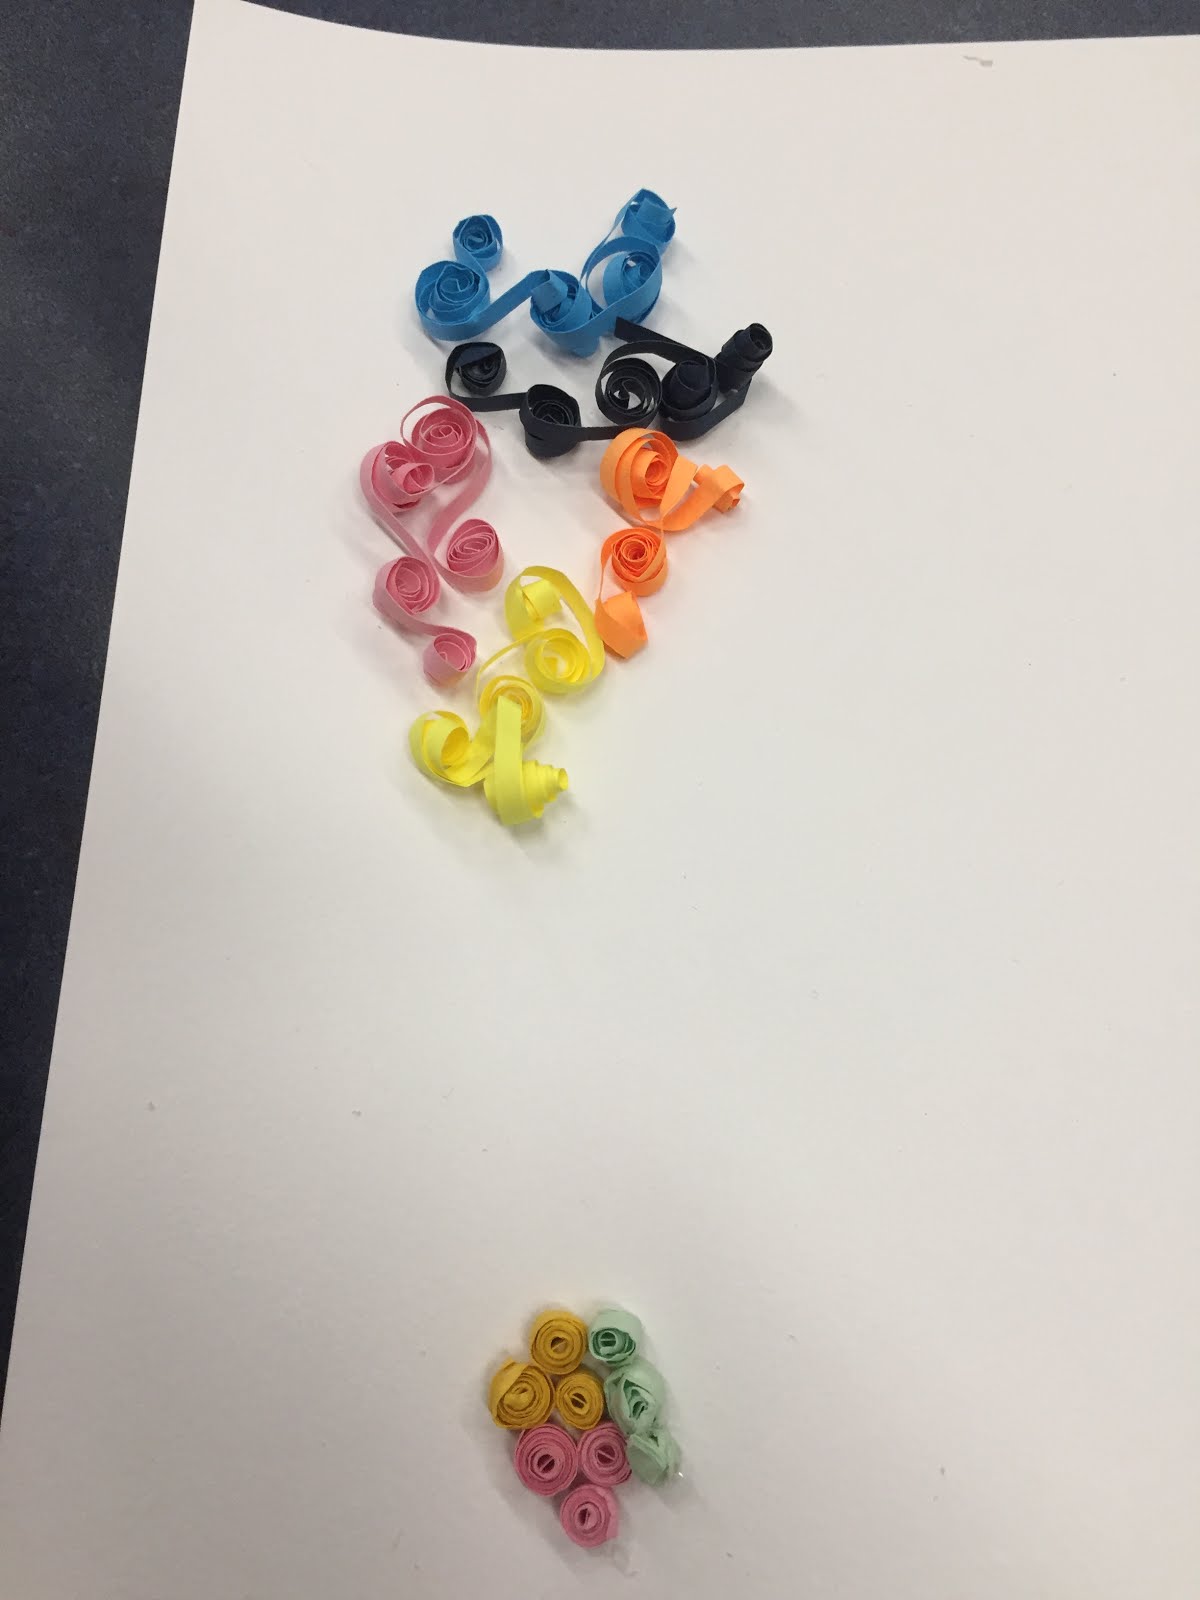
We experimented with the Quilling technique in First Friday Art Club in April 2018.  Using thin strips of paper and tools to help shape each strip, many different objects were created.
Setting up Shop
Learning to roll these thin strips of paper into various shapes was mildly difficult for younger hands, but too  tough for older hands.  Our resident volunteer, Bev Stevens lead the instruction of this technique, because she had practice in quilling from college.
Twist and coil
Taking a color, inserting an end into the slot of the quilling tool and rolling shaped each paper strip into a tightly wound coil.  Using shaping tools like the green one seen above helped create a wider array of designs.
Books provide Inspiration
A selection of books provided inspiration.  Quilling for Beginners, The New Paper Quilling, and Paper Quilling for the First Time gave just the right amount of inspiration and instruction.
Simple Start
Some of us kept it simple to start and some of us stayed in that comfort zone.
Medallions are Fun

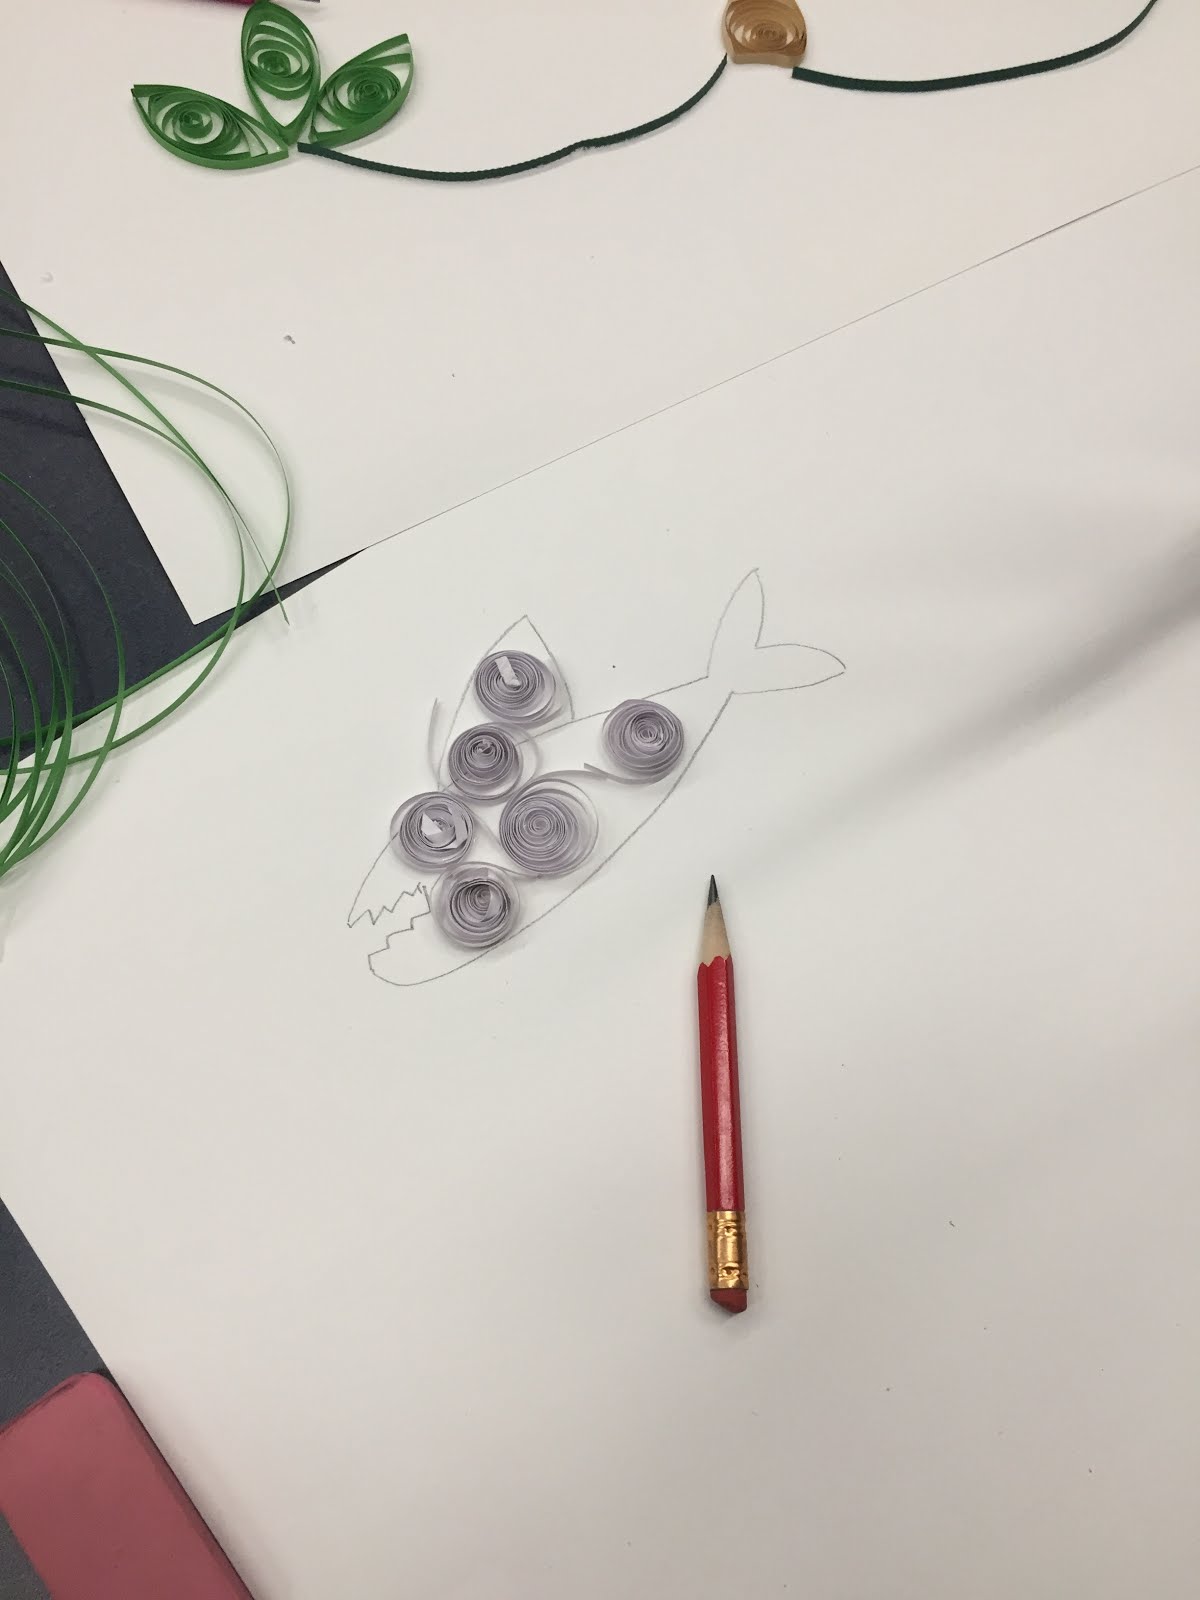
A Shark made the Scene
I was impressed to see some lettering.

Swirly Rainbow
Nature and books inspired this design.
Dragonfly
The bamboo artist got taken away by the bamboo composition that they plan to return all this week to complete their design.  It looks so cool in person!
Bamboo
Considering the fear that everyone held when we started class, the work created was rather impressive.  This technique requires hours of time to complete, so an hour and a half length class is just a taste of the process.  I look forward to seeing what else these designers make.

Be sure to visit us at the Arnot Mall on Saturday, April 14, from 10am-3pm for the        Twin Tiers Mini Maker Faire.
We have a green screen photo booth for your friends and families to visit unusual lands.
This free event is perfect for the whole family and will provide tons of hands-on crafts, take home goodies and learning galore!  You won't want to miss it.

Thanks for visiting.  Check back again in May when we celebrate a celestial holiday.
May the Fourth Be with You

xo,
Erica

Thursday, June 8, 2017

Cyanotypes

The SSC Library First Friday Art Club explored cyanotype printing on June 2.  Special guest instructor, Marnie Lersch, led the exploration.
Cyanotypes, GO!
Marnie defined the term cyanotype by breaking down the word.  Cyan is blue and type meaning print, so you can say this is like a blue print.  Having worked in a blue printing facility, we were lucky to NOT smell the diazo process, which can knock out a person with the ammonia fumes.
Chemical Overview
Students who arrived early got a chance to peruse the sample and supply table.  Marnie showed interested parents the chemicals which we would use to complete the process.  These chemicals are light sensitive, meaning they need to be kept out of sunlight.  Since they are hazardous, everyone was instructed to wear gloves while applying the liquid mixture to the fabric being used.
Safety First when Working
First step in this class was to prepare our fabric with the light sensitive chemical mixture. Using foam brushes, rubber gloves, and table cloths, each student was responsible for this step. We often remind our students that safety is always first when making art.  We only get one set of lungs and the skin we're in, so they have to last a lifetime.
Time to add the Goodies
Once the chemical application was dry, it turned a pea-green hue and it was time to get creative.  Using items we collected from the garden and an array of interesting shaped goodies, each student took time to compose their image.  This required a bit of thinking about positive and negative space, as well as transparent versus opaque density.
Wrapped and Protected
After composing their imagery, the students wrapped up their fabric on a cardboard sheet sandwiched by bubble wrap and secured with clothes pins.  There was a whipping wind to contend with outside and we did not want all of the loose items to go flying!
Waiting for the Sun
Once outside, the sun was in control of this project.  
Each student was a watch-guard protecting their projects from the wind.
Make your Mark
I tested this process and teamed up with a student with a bubble wrap experiment.  "What will happen if we leave the bubble wrap on?," we wondered.  As the sun processed the image, this student took a chance to use her body as her signature!
Expose in the Sun for about 10 minutes
After about 5-10 minutes of bright sun exposure, the chemicals on the fabric turned a slate gray/ green tone and Marnie told us to wash our fabrics in clean water.  This was a fast action of tossing materials into bins and rushing to the water tubs to process the image.
Leaves and Seashells were flying!
If you can imagine the flock of leaves, seashells, glass nuggets, and macaroni literally flying into storage bins, the mad rush panicked everyone to make sure they finished their projects before the end of class.  Washing the fabric in water surprised everyone at how fast the fabric turned from green to blue.  The imagery everyone composed was so gorgeous.  This project offered immediate gratification.  Who doesn't like that?!
Success
The variety of blue tones this process offers is quite lovely.  I have a blue love-affair and believe I will further explore this process in my home studio.  One parent who enjoyed the results of this process envisions a Cyan Family Room.  She took notes on the chemicals needed and borrowed some books to further investigate.  If you have interest to learn how to make cyanotypes, visit this Alternative Photography for more information.  


Check back in July to see what Steampunk Costumes our crew creates as they prepare for the ever-epic Library Unmasked: Steampunk Edition cosplay event.

Until then, thanks for visiting!
~erica

Saturday, March 11, 2017

Pointillism

Painting in the pointillism technique was the goal for First Friday Art Club in March.  This was a lesson I recall thoroughly enjoying when I was in Junior High School.  The method can be time consuming, but meditative and therapeutic.
An Apple a Day
My "lesson" was really just a slide of A Sunday Afternoon on the Island of La Grande Jatte by Georges Seurat.  This is one of the most recognizable images when Pointillism, Divisionism, or Neo-Impressionism is discussed.
Eye See You
The plan was to show a few examples of the technique and discuss the simple method of using only dots to represent the imagery.  My preference is to keep the "lesson" light and let the student discover the way.  This was one of the few painting classes I've hosted and I see the "way" was slightly askew from the intended method.
Adorable Images
After supplies were passed out and drawings were approved, students took their time painting their masterpieces.  The trouble they had was maintaining a dotted system versus a paint stroke system.  This was not a failure, though, just a lesson for them and myself.
Solar System
Having very few chances to actually paint, it's a struggle to just use dots, when the paint is so fun to mix and spread on the surface.  It was hard for most to resist spreading paint over the canvas and watching it dry.  
Super Star
Any student who had the patience to paint just dots found joy in the process and requested to do this more often.  I feel that request should be met.  Discovering techniques that spark joy is important in our very busy, technologically overwhelming world.
Landcape
Some students created their own worlds, while others represented cartoon characters.

Toothless the Dragon
I find the variety of images the students choose to work with to be very intriguing.
Dreaming of Palm Trees
Some chose warm scenes to "travel to" while ignoring the cold winter weather outside.  
Others created vibrant scenes of whimsy.
Go Pokemon!
When it comes to art, it's all about the process, not just the product, and everyone enjoyed the process!  Several students stayed 15 minutes past the end of class to continue working.  It was unfortunate that I had another program to attend at the Corning Museum of Glass, or they could have stayed until the library closed.
Fire Bird
The funny part of the two programs I hosted that day, was they both revolved around small parts making a full picture.  Pointillism is a series of paint dots composing a total image, while Mosaics do the same thing in a different medium.  My project at Family Night at the Corning Museum of Glass hosted 75 families in the education lab.  Reflecting on the similarity of these two projects is fun.
Mosaics at the Museum
Both of these projects are terrific for all ages.  Pointillism can be achieved with paint and brushes, crayons, finger paints, Q-Tip painting, or markers.  The concept is simple and achievable for almost all levels with minimal supervision.  
Dots on a Page
It's really just a series of Dots on a Page.  Mosaics are very similar.  The Family Night event saw lots of preschoolers gluing foam squares to a grid, but there were many parents and grandparents taking a chance with some therapeutic art.  Some even showed they like to think outside the box!
It's like a Mosaic Maze
Considering March is National Youth Art Month, the First Friday Art Club kicked off the month in style.  The paintings that were left with me are on display in the Young Adult section of the Southeast Steuben County Library.  Stop in and take a peek!
Special Collaboration for April and May
Check back next month to see what The Rockwell Museum 
has in store for our club in April and May.

Thanks for stopping by,
erica