Showing posts with label color. Show all posts

Thursday, June 21, 2018

Potato Printing

We got Totally Tubular in the June First Friday Art Club.  Printmaking is a great way to personalize any surface, but cost of materials can be prohibitive.  Using the power of plants, we had cost-effective printing implements and developed new skills along the way.
Potatoes to Print
In order to make prints, an artist needs a block.  Printmaking blocks are usually made of linoleum or wood.  Linoleum is easy to carve, but expensive to supply for a free library class.  We used linoleum block carving tools to learn the proper way to cut a printing block, but took advantage of the soft surface of potatoes to equate as a printing block.
Careful Carving
Considering the sharp edges of these carving tools, careful carving was required.  We discussed the ideas of positive and negative space and how to get each image exactly as it was desired.  This concept is difficult to grasp, but once achieved, the options are endless.
Ready to Print
Once the potatoes were cut and dabbed on a towel to dry off excess moisture, students were ready to print.  We used flour sack towels as our printing surface.  Mother's Day followed this class, so a ready-made gift was achievable.
Color Palette
We used Folk Art Fabric Paints and paper plates as palettes.  Foam sponges were great for evenly applying paint to the potatoes.  It is advised to dab the potato surface with color rather than paint it on.  Just a bit of color will transfer from the potato surface to the printing surface with a little pressure.
Dab and Press
Once colors were chosen, the process was dab and press for each print made on the fabric.  Composition was considered.  Some students worked random prints across their printing surface.  Others chose to create a border.
Random Placement
Borderline Love
After mastering the dab and press method of printing with potatoes, I showed students the option of multi-colored monoprints.  A monoprint uses a regular printing block, but is treated in such a way that only one of it's kind exists.  By painting each segment of the printing block, a unique print is made.
Monoprint
That's a wrap for our Potato Printing session.  Check back in July to see how "Libraries Rock!"  Guest artist, Shannah Warwick of Blckbts, will instruct students on felting rocks.
This is an event you don't want to miss!


Thanks for visiting.
I'll check you on the flipside in July.
xo,
Erica

Monday, April 9, 2018

Quilling

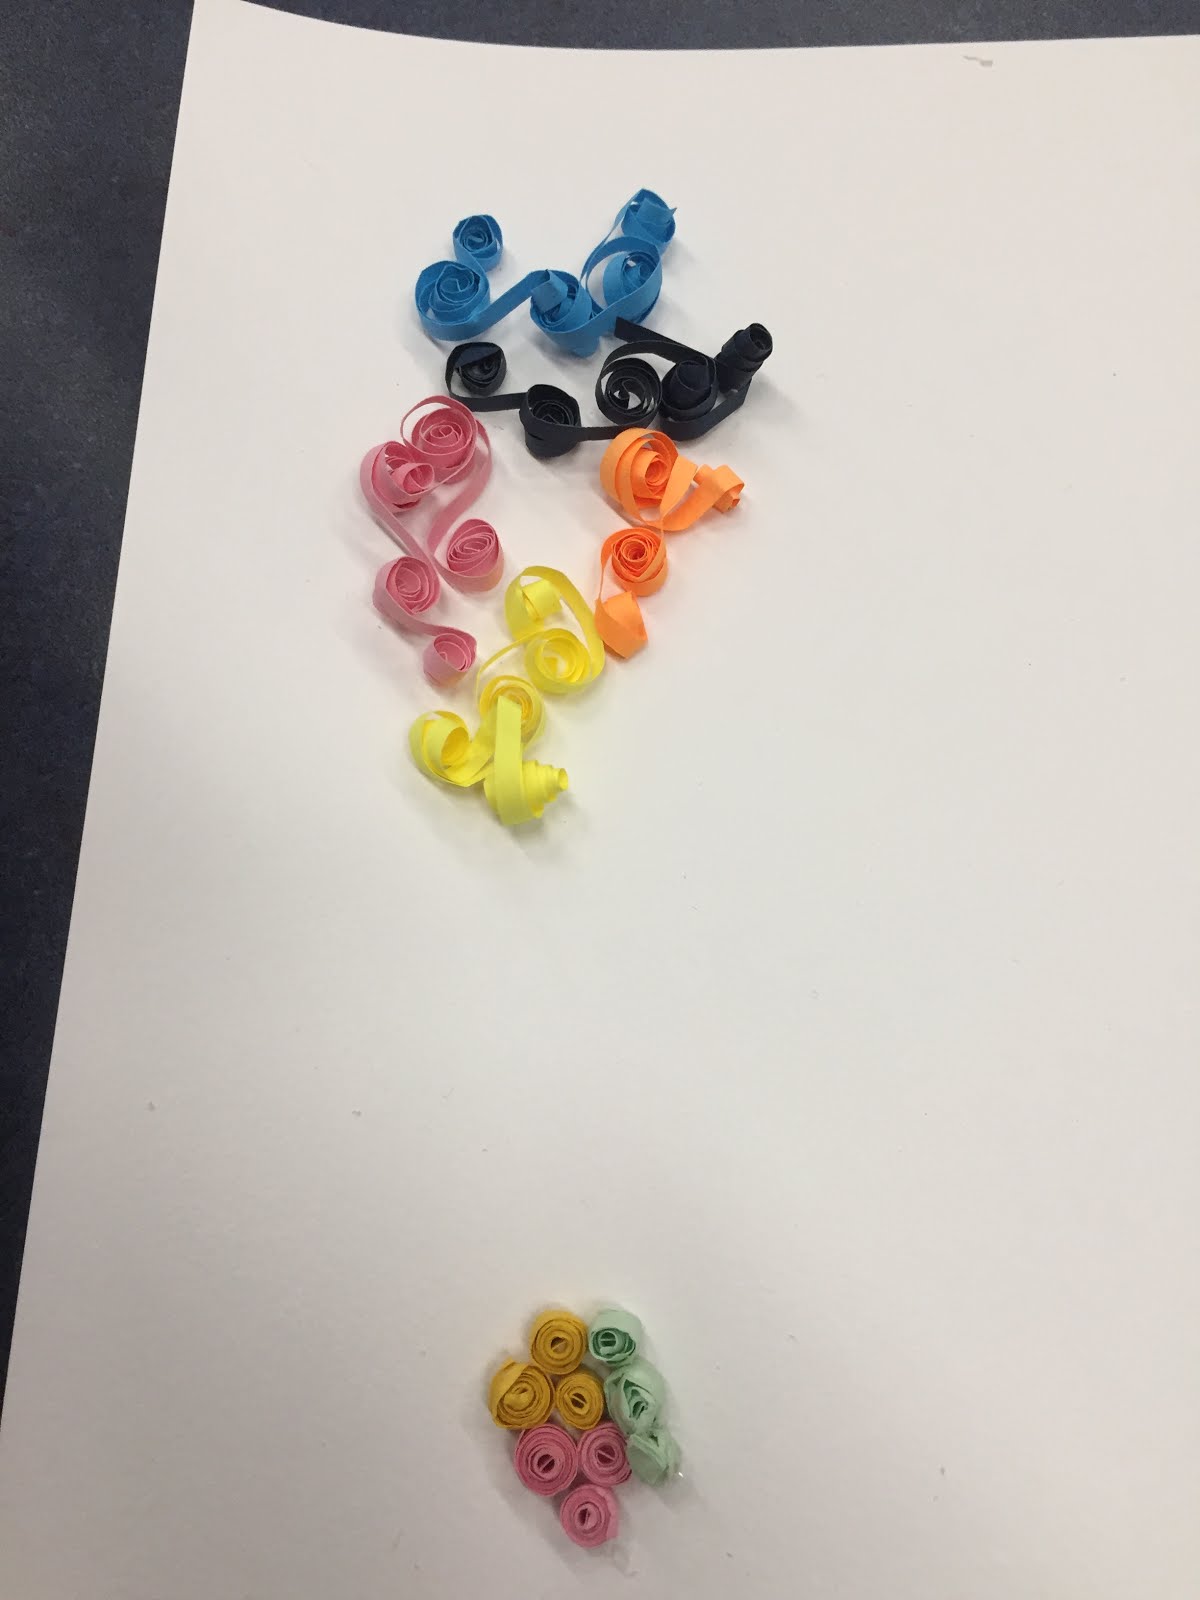
We experimented with the Quilling technique in First Friday Art Club in April 2018.  Using thin strips of paper and tools to help shape each strip, many different objects were created.
Setting up Shop
Learning to roll these thin strips of paper into various shapes was mildly difficult for younger hands, but too  tough for older hands.  Our resident volunteer, Bev Stevens lead the instruction of this technique, because she had practice in quilling from college.
Twist and coil
Taking a color, inserting an end into the slot of the quilling tool and rolling shaped each paper strip into a tightly wound coil.  Using shaping tools like the green one seen above helped create a wider array of designs.
Books provide Inspiration
A selection of books provided inspiration.  Quilling for Beginners, The New Paper Quilling, and Paper Quilling for the First Time gave just the right amount of inspiration and instruction.
Simple Start
Some of us kept it simple to start and some of us stayed in that comfort zone.
Medallions are Fun

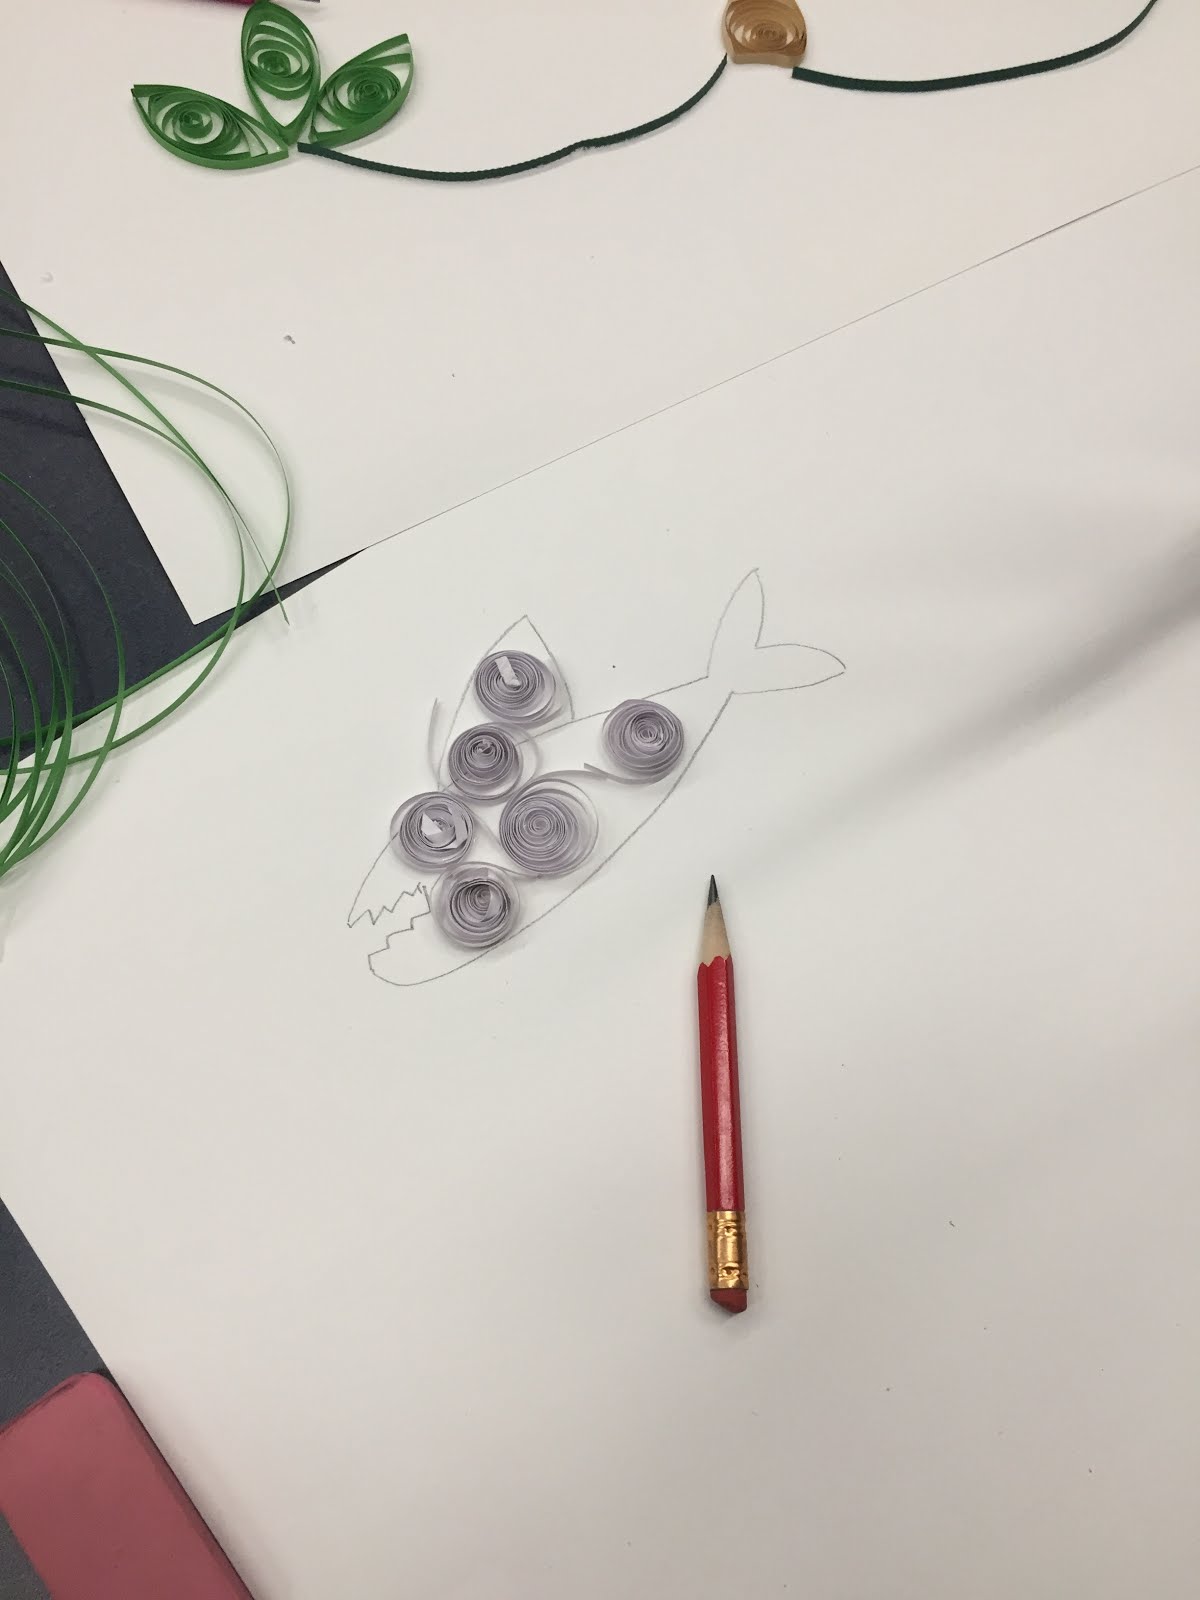
A Shark made the Scene
I was impressed to see some lettering.

Swirly Rainbow
Nature and books inspired this design.
Dragonfly
The bamboo artist got taken away by the bamboo composition that they plan to return all this week to complete their design.  It looks so cool in person!
Bamboo
Considering the fear that everyone held when we started class, the work created was rather impressive.  This technique requires hours of time to complete, so an hour and a half length class is just a taste of the process.  I look forward to seeing what else these designers make.

Be sure to visit us at the Arnot Mall on Saturday, April 14, from 10am-3pm for the        Twin Tiers Mini Maker Faire.
We have a green screen photo booth for your friends and families to visit unusual lands.
This free event is perfect for the whole family and will provide tons of hands-on crafts, take home goodies and learning galore!  You won't want to miss it.

Thanks for visiting.  Check back again in May when we celebrate a celestial holiday.
May the Fourth Be with You

xo,
Erica

Thursday, February 22, 2018

Acrylic Cats with Filomena Jack

Rainbows of Color
Southeast Steuben County Library's First Friday Art Club encountered acrylic paints, canvas panels, brushes, and a rainbow of color with Filomena Jack in February.
Welcome to Class
Class started with Filomena's introduction to color theory and the color wheel.  Students needed to know how to mix colors to achieve their preferred palette.  Then instruction proceeded to creating whimsical cats.
Start with an inverted Triangle
Using simple shapes and limited rules, students created their feline's features.  Designs were whipped out quickly with this easy-to-follow tutorial.  Once the cats were on the canvas boards, it was time to paint the base color.
This Kitty has the Blues
Painting the base color of the cat body let each personality shine.  Some folks liked lots of colors, while some chose monochromatic schemes.  "This kitty has the blues," my neighboring student mentioned. 
Not just for Cats
Let's admit that cats are not for everyone.  Some of us love bunnies more; Filomena can attest to that!
Meoowwww!
Once the cat's body was painted, the background needed color, then it was on to facial features.
Grumpy Cat
We saw grumpy kitties, happy cats, scaredy cats, and kittens with attitude arise from their creator's brushes.
Content Kitty
Class time passed quickly, but each student left with a complete painting.  Great work to our students, and BRAVO to our instructor!
Pro-Kitty
Can you tell  who created this cool cat!  We obviously have lots to learn from the master.
Printmaking with Organics
Visit us in March to see what beautiful marks we make after Printing with Potatoes.  It's an easy and inexpensive form of printmaking.  Tell me if you've make marks with organic matter.
See you next time!
~Erica

Wednesday, September 20, 2017

Stained Glass Fake-Out

To get students ready for the new school year, I planned a relaxing project for First Friday Art Club in September.  I've seen fake stained glass projects and had them on the "To Do" list for awhile, but a colleague highly suggested this technique, having recently succeeded in the same lesson with a mixed age group.
Blueprints, tracings and color
In order to create a stained glass project, an artisan will create a drawing.  The drawing will then get scaled to the size of the window or project they are creating.  The scaled drawing is called a blueprint and used quite like a blueprint for architecture.  My students were given some time to sketch out a plan for their blueprint using office copy paper.
Careful coloring
Once the blueprint was finalized, each student took wax paper to create their fake stained glass.  I tried to equate the simplified techniques to actual glass preparation.  Students were told to "cut" their glass by tracing their blueprint with pencil onto the less waxy side of the wax paper.  The less waxy side of the paper accepts the marker ink better than the shiny side.  Once their drawing was transferred, color could be added to the composition.
"This part is my favorite."
The coloring phase excited everyone like the coloring pages that have become very popular.  I had some concern that this project would be too simple and quick for this age group, so I planned to let any quick workers make another.  Luckily that was not an issue.  Each student took their time planning their projects and placing the color precisely inside the lines.
Bold lines and Big shapes
I suggested to keep lines and shapes big and less complex.  No glass maker wants to cut sliver sized pieces of glass.  Adding the lead came or copper foiling would make the process almost unbearable.  With that idea understood and coloring wrapping up, each project needed to be taped to a matte board frame with the fake lead came applied afterward. 
Puffy Paint to the Rescue
The lead came replacement for this project was puffy paint.  I showed the option to outline the shapes in each composition with black sharpie, but also showed the puffy paint example and everyone gravitated toward that look.  By framing the wax papers first, the projects were less flexible and easier to take home, even with wet paint. 
Simple instruments
This project is achievable for many age levels and has been proven successful with varied ages in the same class.  Sharpie markers are suggested for their ability to stay and not smudge on the wax paper.  Rulers, copy paper, puffy paint and pencils were other simple instruments used to created this relaxing project.  No glass means no fingers cut!
Hold it up to the Light
Holding these finished projects up to a window let them truly shine. 
Simple and Sweet
Larger shapes to give the viewer's eye more to view would 
make this composition even more lovely.
Simplified Landscape
This artist skipped the black puffy paint at first, but then added it later.  Good choice!
Color every Inch
This artist chose to color every inch of her composition. I feel this was the closest resemblance to stained glass and would love to see it in glass form....
any makers ready to take on that challenge?

This wraps up another month of First Friday Art Club.  Join us in October for harp & heART with Maryalice Little.  There's still time to register!

Thanks for visiting!
~erica