Showing posts with label flowers. Show all posts

Monday, April 9, 2018

Quilling

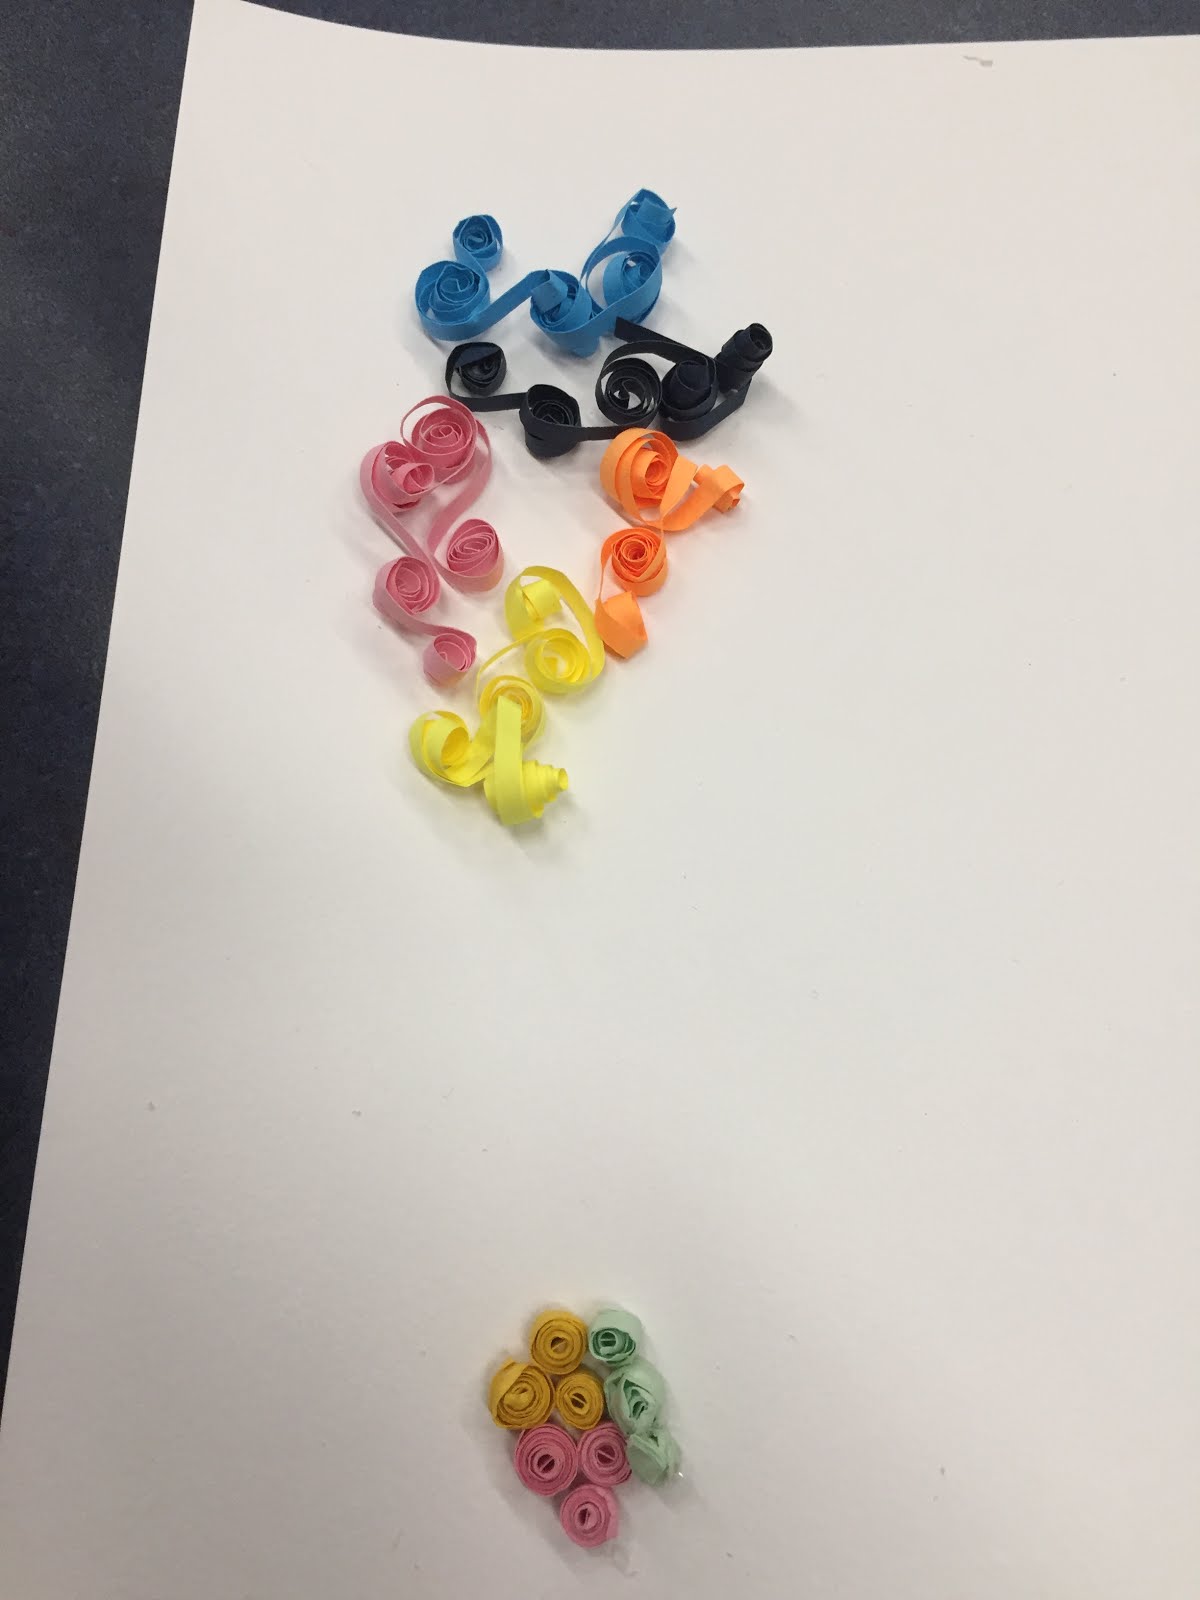
We experimented with the Quilling technique in First Friday Art Club in April 2018.  Using thin strips of paper and tools to help shape each strip, many different objects were created.
Setting up Shop
Learning to roll these thin strips of paper into various shapes was mildly difficult for younger hands, but too  tough for older hands.  Our resident volunteer, Bev Stevens lead the instruction of this technique, because she had practice in quilling from college.
Twist and coil
Taking a color, inserting an end into the slot of the quilling tool and rolling shaped each paper strip into a tightly wound coil.  Using shaping tools like the green one seen above helped create a wider array of designs.
Books provide Inspiration
A selection of books provided inspiration.  Quilling for Beginners, The New Paper Quilling, and Paper Quilling for the First Time gave just the right amount of inspiration and instruction.
Simple Start
Some of us kept it simple to start and some of us stayed in that comfort zone.
Medallions are Fun

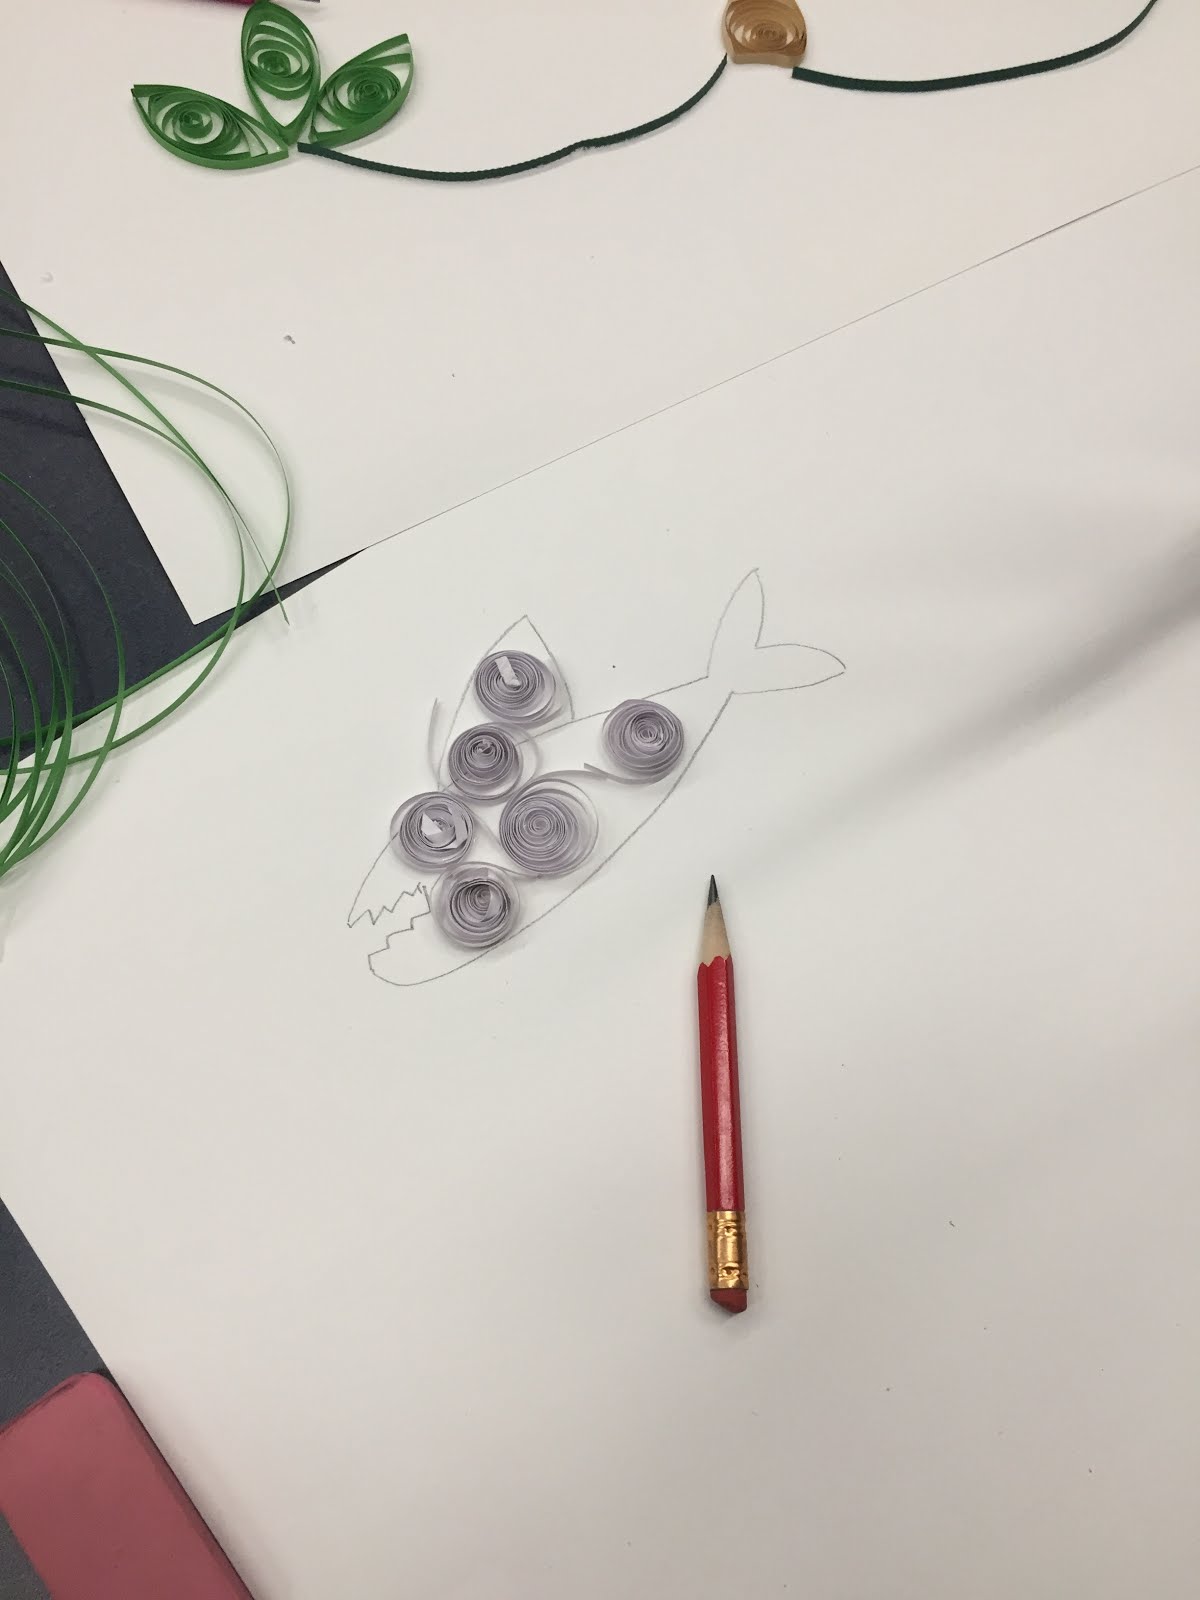
A Shark made the Scene
I was impressed to see some lettering.

Swirly Rainbow
Nature and books inspired this design.
Dragonfly
The bamboo artist got taken away by the bamboo composition that they plan to return all this week to complete their design.  It looks so cool in person!
Bamboo
Considering the fear that everyone held when we started class, the work created was rather impressive.  This technique requires hours of time to complete, so an hour and a half length class is just a taste of the process.  I look forward to seeing what else these designers make.

Be sure to visit us at the Arnot Mall on Saturday, April 14, from 10am-3pm for the        Twin Tiers Mini Maker Faire.
We have a green screen photo booth for your friends and families to visit unusual lands.
This free event is perfect for the whole family and will provide tons of hands-on crafts, take home goodies and learning galore!  You won't want to miss it.

Thanks for visiting.  Check back again in May when we celebrate a celestial holiday.
May the Fourth Be with You

xo,
Erica

Tuesday, August 9, 2016

Recycled Creations with Kimberly Canale

Recycled Creations
We rummaged through the recycling cans to prepare for Recycled Creations with Kimberly Canale.  Taking used soda cans, spray paint, glass gems and a crimping tool, flowers and suns popped up by the end of class!

Kimberly Canale original Pop Can Flower
I encountered these adorable lawn decorations at a local craft fair and asked Kimberly if she would work with First Friday Art Club to make more. Collecting trash over several weeks, I had a stash of soda cans ready to be bloomed.  There were options to create a flower and a sun for this project.  The sun was a more difficult endeavor, but so pretty!! 
A sun in process
To make these, cut off the top of the can.  This tutorial from Make It Easy Crafts reveals the steps to make a spinner.  This tutorial will guide you through the same method we used to make the flowers and suns.
Make It Easy Crafts flower tutorial is absolutely adorable! 
Ask an adult to help get the can cut clean and even, so there are no metal bits to snag your skin.  The can without the top resembles a cup.  Cut strips down the sides of the can from top to bottom.  These strips will be petals for flowers or rays for suns.

Step 4 from Make It Easy Crafts
The images from the Make It Easy Crafts tutorial are for a flower.  If making a sun, create more "petals" to be sun rays.
The tricky part begins
The tricky part begins by folding the strips at 45 degree angles closest to the bottom of the can, which is now becoming the center of the sun.
Roll the rays
Roll each "ray" toward the center of the sun.  Roll these strips as tightly as possible.  Be sure to roll so that the color of the can is concealed, unless you choose to use the color to your advantage.

Using the original logo can reveal a cool design or pattern
Once the rays are rolled, all that is needed is a little paint to unify the look of the sun to your preference.  Adding  a glass gem once the sun is painted gives another bit of pizzazz.
final product
These suns can go in the ground by gluing a post to the back.  We hammered holes in one of the rays and added string to hang these in windows or from the ceiling.
There was time left to make flowers, but they were made too quickly for me to get pictures.

Another option to create something useful with recycled materials is a mini basket.
Soda cans and plastic bag strips
There was not enough time to create these mini baskets.  I will save this activity for December, when we Make and Bake Gifts for the holiday season.

Check back next month to see what we make in our Block Printing lesson.
Thanks for visiting!
See you again soon
~erica