First Friday Art Club enjoyed a special guest instructor for February 2017. Nuno Felting expert, Shannah Warwick of Blckbts sneaked out of her studio to provide a lesson in felting to excited tweens and teens, along with a couple of adults.
"Feel the difference between the fabrics."
After personal introductions and a little vocabulary building--- ie.knowing all of the items and terms used in this felting process, the ladies got rolling right along. And by rolling, I mean ROLLING! That action is almost the main activity required in nuno felting.---funny videos pending.
Wool Roving goes far
Learning the wonders of wool roving was step one. Merino wool is expensive and knowing how to make the most of your materials is important to an artist. Removing just wisps of the wool to use in your design is imperative for any felting student.
"Wisps of roving shrink in your final design"
Using too much roving in sections will cause uneven shrinkage of the final product and leave an awkward, somewhat unusable shape. This might be an effect someone wishes to achieve, but not in this class.
Wisp Away!
Students were instructed to find a partner and take turns placing the wool wisps in any pattern they chose, avoiding too much overlapping. If you look closer, you'll see there is bubble wrap as the first layer-bubbles up. The next layer is silk chiffon. The silk is the fabric foundation to the scarf being designed.
Tulle is the next layer after the design is complete.
Once the wisps are placed and the design is approved, the next layer is Tulle (sounds like "tool"). This netted fabric must be patted gently to meet the other layers and not move. Basically every layer becomes "friends" at this stage. Then a slight amount of warm, sudsy water is squeezed over the layers to prepare for the felting process.
Ball brauser is like a magic felting wand.
The final layer to this felted sandwich is another sheet of bubble wrap, this time bubble side down. The bubbles face inward toward the fabric and once the layers are rolled up, the bubbles, warm water, soap suds, and rolling action cause the fibers to interlock .
Pool noodles have meaning in the winter!
Who knew that pool noodles and bubble wrap were so imperative to the nuno felting process? Well, Mrs. Warwick was happy to share this knowledge with the First Friday Art Club. The mandatory therapy of bubble popping was momentarily allowed, but then the rolling had to commence. The rolling, as promised, was very exhaustive.....
The amount of rolling is a special "science" to this nuno felting process. Each piece needed to be rolled 800 times. That's right, 800! This gave a good upper body workout, but tired everyone out quickly. After 200 rolls, the layers are unrolled, then rerolled in the opposite direction. This gives every section equal friction, resulting in a uniform interlocked fibers.
800 rolls should have fuzzies poking through
Once everyone got their 800 Roll Workout, we needed to peak at the reverse side of the chiffon. If wool fuzzies were poking through the weave, rolling was complete and the chance to take out some aggression on the project had arrived.
Balling up the fabric, dipping it in warm, sudsy water and tossing it in a sink or tub several times shocks the fibers. This action might seem too abusive, but it is the final step to making a lovely nuno felted creation. Whoever said fiber work is just for wimps never put their muscles into this process.
It's like shrinky dinks!
Once the fibers are shocked and shriveled, it was time for the Big Reveal. Everyone was surprised how much the fabric shrunk. There is about a 30-50% shrinkage rate in this process. More shrinkage resulted if there was a lot of wool placed on the fabric. With less wool, there is less shrinkage.
Less surface wool = less shrinkage
Everyone loved their wearable art. Parents who were present requested an adult class to learn this process and have fun with their own peers. Adults just wanna have fun, too!
If you are interested in this process or have attempted nuno felting on your own, let me know! I love sharing experiences, but love seeing what else is happening in the world.
Next month we discover the expressive painting process of Pointillism. This process made famous by Georges Seurat and Paul Signac avoids paint strokes and prefers dabs and dots.
Let's call it the beginning of dot matrix!
Register Today!
Thanks for following the First Friday Art Club.
If you visit, please leave a comment on what you like or what you wish to see.
We added the book "Sock and Glove: Creating Charming Softy Friends from Cast-Off Socks and Gloves," by Miyako Kanamori to our collection recently and I knew it would work well with First Friday Art Club. Do you have a large assortment of one-off socks or lost the right hand to your favorite glove? Rather than scrapping them to the round file, recycle them into lovable works of art!
Transforming clothing into puppets or softy friends is not easily straightforward for most people. Even with printed templates and instructions, our brains can often argue with what we see. Despite our left and right brains occasional feud, these students took their right and left socks in adorable directions.
What in the World is a Whake?
Although I had several patterns selected to choose, students had their own stuffed friend visions and this Maker wanted a whale. While a whale pattern is not an option in the book (sequel suggestion...) this artist took the liberty of designing one. He got a little mutated in the process and became a Whale Snake or a Whake!
Olivia Newton Sock
Puppies popped up from the patch. The remnants of the "whake" became a workout gear for this puppy. I just have the the "Physical" song running through my head with visions of this pup pumping iron.
This "cat" once ran around in gym sneakers
With dogs, you must have cats. This striped variety once had the role of gym clothing for middle school. This creation could lead to more verses in the Smelly Cat song.
Cow-Pig-Sheep?
The designer of this curious creature intended to make a sheep. Her color options made her feel the animal looked more like a pig or a cow. I think the Teenage Mutant Ninja Turtles had some influence on these creatures.
A little noting goes a long way.
This cherub created a birthday duck for her mother.
She was surprised to see this lonesome sock become a lovable friend.
Markers are easy for facial features
To add features to these friends, we had lots of embroidery floss and embellishments. With the clock counting down to the library closing time, these makers wanted to finish their project before they left. Using markers was a simple solution.
This wraps up another First Friday Art Club. We have great projects in store for 2017.
Space is limited- register today!
Shannah Warwick of Blackbts (that's Black Boots) will guide our group in the Nuno Felting method. The finished piece will be wearable art. Lookout Corning...we're getting fancy!
November is National Native American Heritage Month. We honored the month by making rainsticks in First Friday Art Club. Using a tutorial from The Imagination Tree, cardboard mailing tubes, finish nails, rice and beans, and LOTS of colorful duct tape, the library community room was a percussive auditorium for the afternoon with 19 happy musicians.
After searching many vendors, Staples had the best deal on a case of Kraft Mailing Tubes. End caps were included to secure the internal ingredients of the rainsticks at no extra cost. Library colleagues lent hammers for the project and I had a bulk of duct tape rolls left over from projects long past. I purchased more than enough nails, rice and beans to host another program. I even got more patterned duct tape, because you just never know what the kids will desire.
Tap nails into the tube all the way around and down
Using a hammer was fun for all of the students. I decided that if a toddler made the project from Imagination Tree tutorial, my tween/ teen students could do the same! The sound of 12 hammers (<<the most I could gather) going at once made me think of a roofing project inside the library.
After the nails, add duct tape
Once the nails were in, duct tape was used to decorate the tubes, but also acted as a protective layer to keep the nails in place. Adding the end caps sealed one of the tube's ends. Then students added rice and/or beans to get a particular sound quality. The lightly filled tubes sounded better to my ear. The beans sounded especially lovely in combination with the rice.
Take time to seal in the nails
Despite the variety of duct tapes, there always seemed to be a halted student. Whenever I asked what they needed, it turned out to be GOLD DUCT TAPE! For some reason the gold duct tape had all the power in this class.
Gold for Greatness
One student mentioned that "Gold was for Greatness." I would have opted for any other color rather than wait for the coveted gold duct tape, but I'm a loner. These kids proved patience, respect and teamwork in waiting for that special hue. I respect their process!
Although this program is for tweens and teens, there were 3 younger (8 years) brothers, 2 mom helpers, an adult who did not mind the age difference and a very endearing 3 year old. This project is suitable for all ages, with a little guidance for the younger side of life. Once the camera emerge, this little character bumped right into frame to show off his creation.
This project rounded out the year of First Friday Art Club. Our next creative adventure will be in December for Make and Bake Gifts. The class will combine Teen Cooking Club and First Friday Art Club to create gifts for the holiday season.
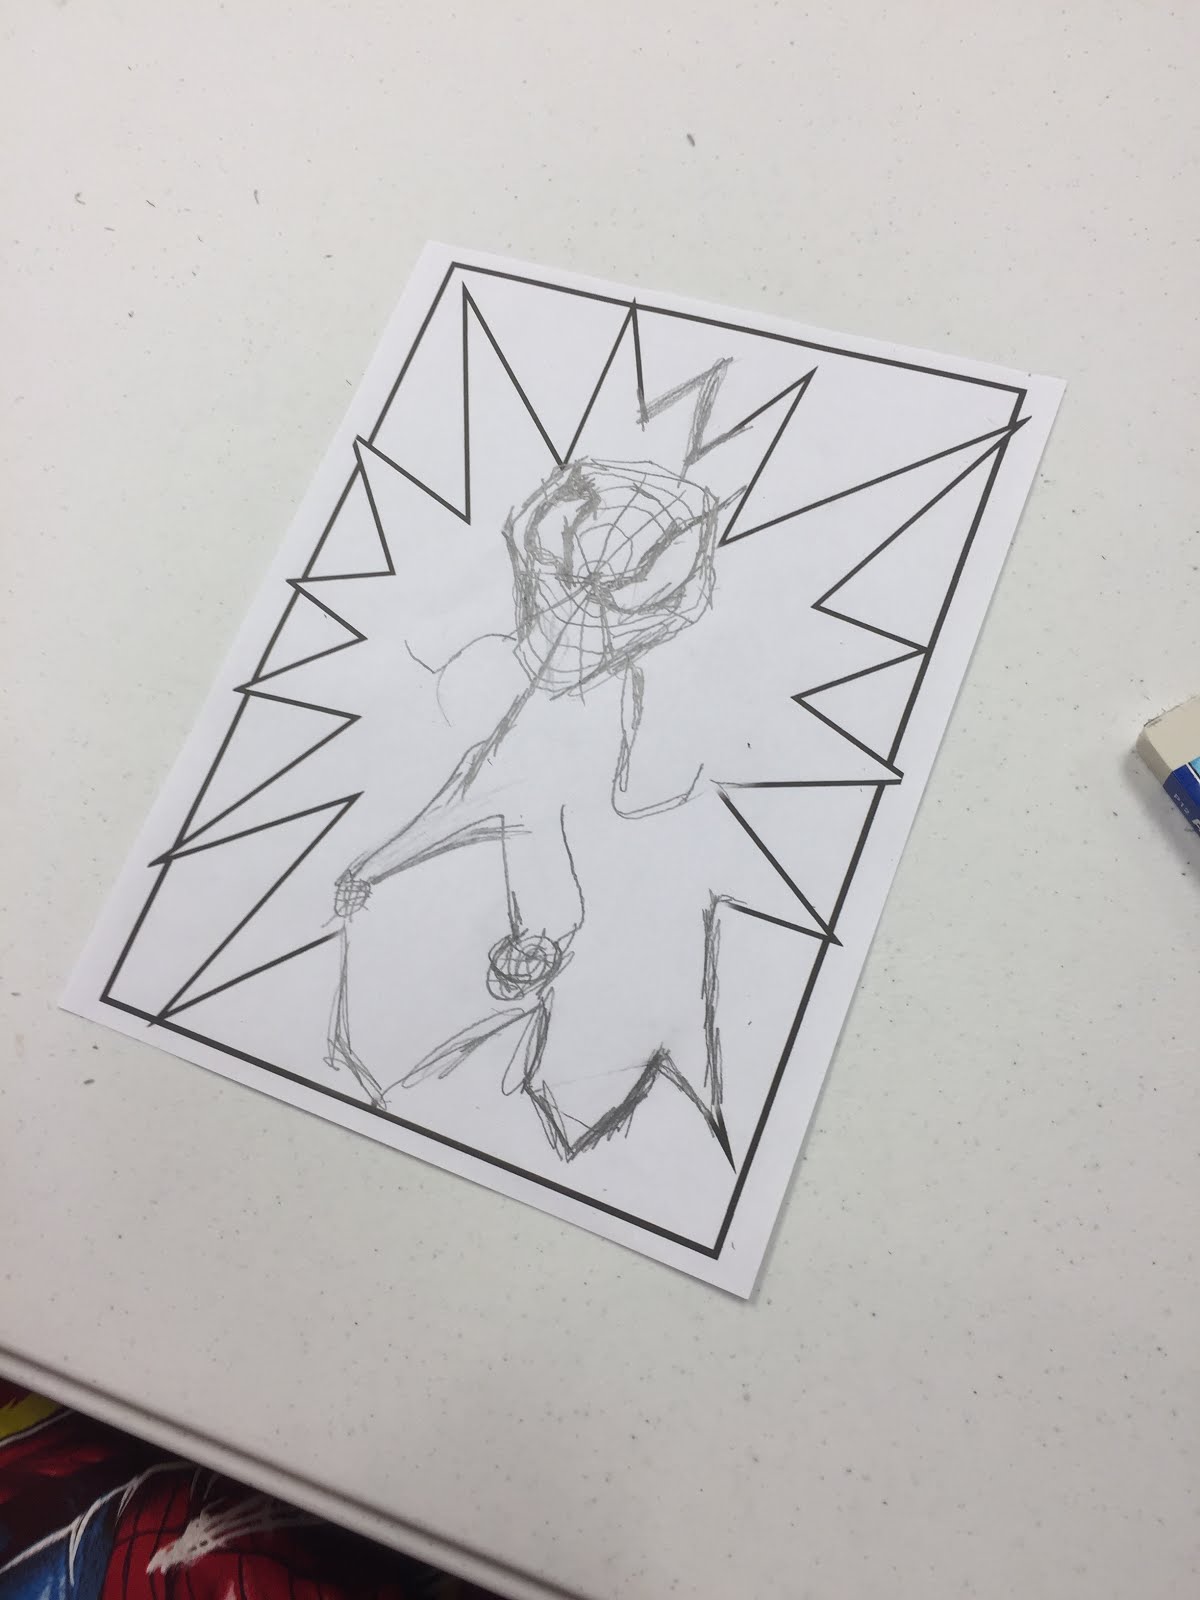
First Friday Art Club created coloring book pages with guest artist and author, Maegan Cook, for October 2016. This light-hearted program focused on the current coloring book craze. Maegan Cook is a graphic novel artist, picture book illustrator and author of A Plus B, which is in the young adult collection at the Southeast Steuben County Library. To begin the program, Maegan produced a few background drawings to inspire the students to elaborate with their own detailed drawings. This freedom can often frighten kids, but those pencils went right to work with visions of super heroes, comic characters, and abstract imagery.
Coloring book pages in progress
It is fun to witness what students want to present from their imagination.
There was Spiderman.
Some tiny ponies
Girl Power
And graphic novel pages
Once each student produced 2 pages to add to our final book, Maegan showed the class how to trace over their pencil lines with marker to finalize the pages.
As the final renditions were turned in, Maegan and I took time
to appreciate the work provided.
We appreciate the varied drawings and look forward to printing these coloring books for all students who participated. I better start sharpening my colored pencils for this treat!
Stop by in November to see the beautiful rain sticks we create for
First Friday Art Club stamped things down and got a little messy in the process in September. We entered the world of Printmaking and created our own blocks to print.
Block Printing supplies
For simplicity, I equated Block Printing with rubber stamping. There is a block with an image that will get ink, then stamp on a surface to print. The idea is straightforward, but there are nuances along the way.
Printing means the image is reversed.
This class immediately followed our week long Theatre Camp and my brain was having trouble shifting into Art Gear. Printing from a block or stamp means the image gets flipped. What you design on the left of your block will be on the right side of your print. This is easy enough, but the students wanted to use wording. OH BOY! The image above is my sample and demonstration piece. Once I showed the students how this reversed image works, their brains clicked and they finalized their designs.
Little Fishy
We used Styrofoam scratch plates to easily achieve the image, using pencils or paint brush handles to scribe the plate. Designing the images to print held everyone up for a bit. There is often that Blank Page Syndrome that all artists face. I stressed that drawing skills were not necessary to achieve great results. Abstract imagery complimented the designs and allowed for more freedom of expression. That reassuring message got the designs done quickly and then we hit the ink.
Puffy Cloud
We had fashionistas who preferred to print on clothing. This Puffy Cloud was adorable! The vertical lines are an effect from the cardboard spacer that protected the bottom layer of the shirt.
Giraffes on Safari
Giraffes were printed twice. Students learned the brightness of an ink color in the jar might not be effective on a t-shirt. After a too-light-to-be-seen run of yellow, this artist chose pink for her Giraffes on Safari.
Words can be tough to achieve
This student discovered the woes of wording in printmaking. She mastered the reversed image, but still struggled with one letter. Lessons in life....
Warhol-esque
This artist went bold like Andy Warhol and printed multiple colors within the same page. A lesson on Andy Warhol is pending. No one had even HEARD of him! There was vague recollection when I mentioned the Campbell's Soup Can prints that made him famous.
Special thanks goes to Lynn Dates and 171 Cedar Arts Center who graciously let me borrow the brayers (the rolling tool used to transfer the ink from the block to the paper), which saved the library over $70! Community support as simple as that makes Corning, New York a very happy place to live and work.
Check back next month when we dive into the world of Coloring Books with Maegan Cook.
We rummaged through the recycling cans to prepare for Recycled Creations with Kimberly Canale. Taking used soda cans, spray paint, glass gems and a crimping tool, flowers and suns popped up by the end of class!
Kimberly Canale original Pop Can Flower
I encountered these adorable lawn decorations at a local craft fair and asked Kimberly if she would work with First Friday Art Club to make more. Collecting trash over several weeks, I had a stash of soda cans ready to be bloomed. There were options to create a flower and a sun for this project. The sun was a more difficult endeavor, but so pretty!!
A sun in process
To make these, cut off the top of the can. This tutorial from Make It Easy Crafts reveals the steps to make a spinner. This tutorial will guide you through the same method we used to make the flowers and suns.
Make It Easy Crafts flower tutorial is absolutely adorable!
Ask an adult to help get the can cut clean and even, so there are no metal bits to snag your skin. The can without the top resembles a cup. Cut strips down the sides of the can from top to bottom. These strips will be petals for flowers or rays for suns.
Step 4 from Make It Easy Crafts
The images from the Make It Easy Crafts tutorial are for a flower. If making a sun, create more "petals" to be sun rays.
The tricky part begins
The tricky part begins by folding the strips at 45 degree angles closest to the bottom of the can, which is now becoming the center of the sun.
Roll the rays
Roll each "ray" toward the center of the sun. Roll these strips as tightly as possible. Be sure to roll so that the color of the can is concealed, unless you choose to use the color to your advantage.
Using the original logo can reveal a cool design or pattern
Once the rays are rolled, all that is needed is a little paint to unify the look of the sun to your preference. Adding a glass gem once the sun is painted gives another bit of pizzazz.
final product
These suns can go in the ground by gluing a post to the back. We hammered holes in one of the rays and added string to hang these in windows or from the ceiling. There was time left to make flowers, but they were made too quickly for me to get pictures.
Another option to create something useful with recycled materials is a mini basket.
Soda cans and plastic bag strips
There was not enough time to create these mini baskets. I will save this activity for December, when we Make and Bake Gifts for the holiday season.
Check back next month to see what we make in our Block Printing lesson.